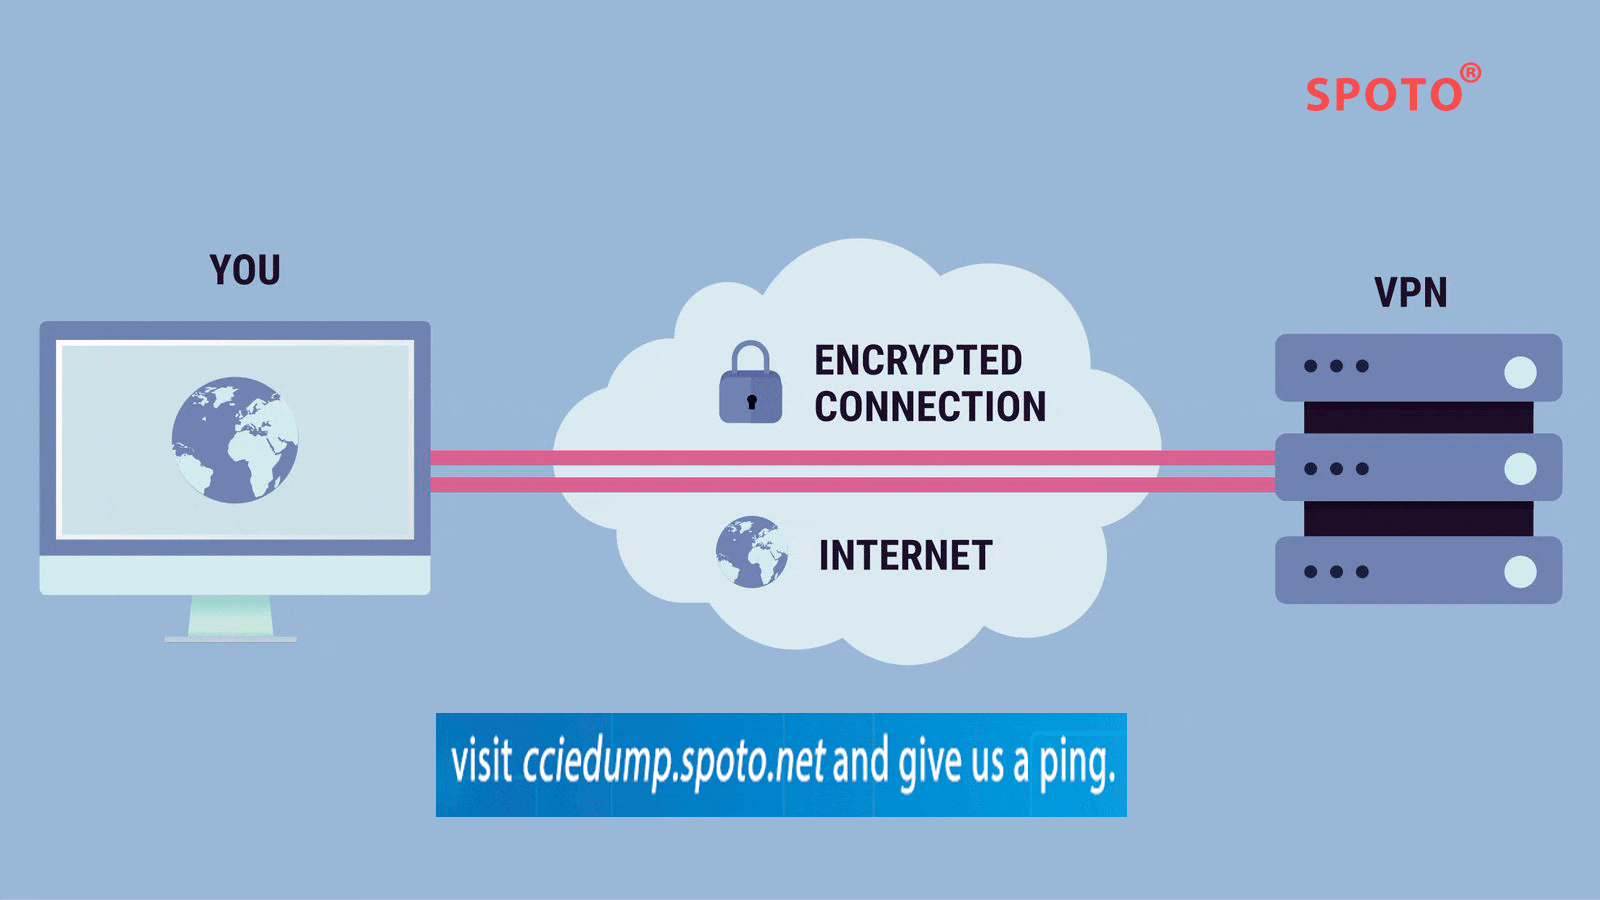
The following is a technology that SPOTO will show in details. SPOTO involves all kinds of IT certification training such as CCIE, CCNA, CISSP, and CCNP, especially CCIE DC LAB. What’s more, SPOTO is the first one to pass the CCIE DC Lab in the globe. It is extremely stable so far, and you can contact us if you want to get more information.
There are four key tasks involved in configuring IPSec encryption with the pre-shared key on the PIX firewall:
First, prepare for IPSec
Preparing for IPSec involves determining a detailed encryption strategy, including determining which hosts and networks we want to protect, selecting an authentication method, determining the details about the IPSec peers, determining the IPSec features we need, and confirming the existing ones. Access control list allows IPSec data flow to pass;
Step 1: Determine an IKE (IKE Phase 1, or Master Mode) policy between IPSec peers based on the number and location of peers;
Step 2: Determine the IPSec (IKE Phase 2, or Shortcut Mode) policy, including details of the IPSec peer, such as the IP address and IPSec transform set and mode.
Step 3: Check the current configuration with the "write terminal", "show isakmp", "show isakmp policy", "show crypto map" commands and other "show" commands;
Step 4: Verify that the network is working properly before using encryption. Use the "ping" command and run the test data stream before encryption to eliminate basic routing failures.
Step 5: Verify that the existing access control lists in the border router and PIX firewall allow IPSec traffic to pass, or the desired data stream can be filtered out.
Second, configure IKE
Configuring IKE involves enabling IKE (and isakmp is synonymous), creating IKE policies, and verifying our configuration;
Step 1: Use the "isakmp enable" command to enable or disable IKE;
Step 2: Create an IKE policy with the isakmp policy command.
Step 3: Configure the pre-shared key with the "isakmp key" command and related commands.
Step 4: Verify the IKE configuration with the "show isakmp [policy]" command.
Third, configure IPSec
The IPSec configuration includes creating an access control list for encryption, defining a transform set, creating an encrypted map entry, and applying the encryption set to the interface;
Step 1: Use the access-list command to configure the access control list for encryption.
E.g:

Step 2: Configure the transform set with the crypto IPsec transform-set command.
E.g:

Step 3: (Optional) Use the crypto IPsec security-association lifetime command to configure the lifetime of the global IPSec security association.
Step 4: Configure the encrypted map with the crypto map command.
Step 5: Apply the interface command and crypto map map-name interface to the interface.
Step 6: Verify the IPSec configuration with the various show commands available.
Fourth, test and verify IPSec
This task involves using "show", "debug", and related commands to test and verify that IPSec encryption is working properly and to troubleshoot it. the interval between the two messages is 30 seconds. The application layer's keepalive message is independent of TCP's keepalive option.

 Join Telegram Study Group ▷
