 Join Telegram Study Group ▷


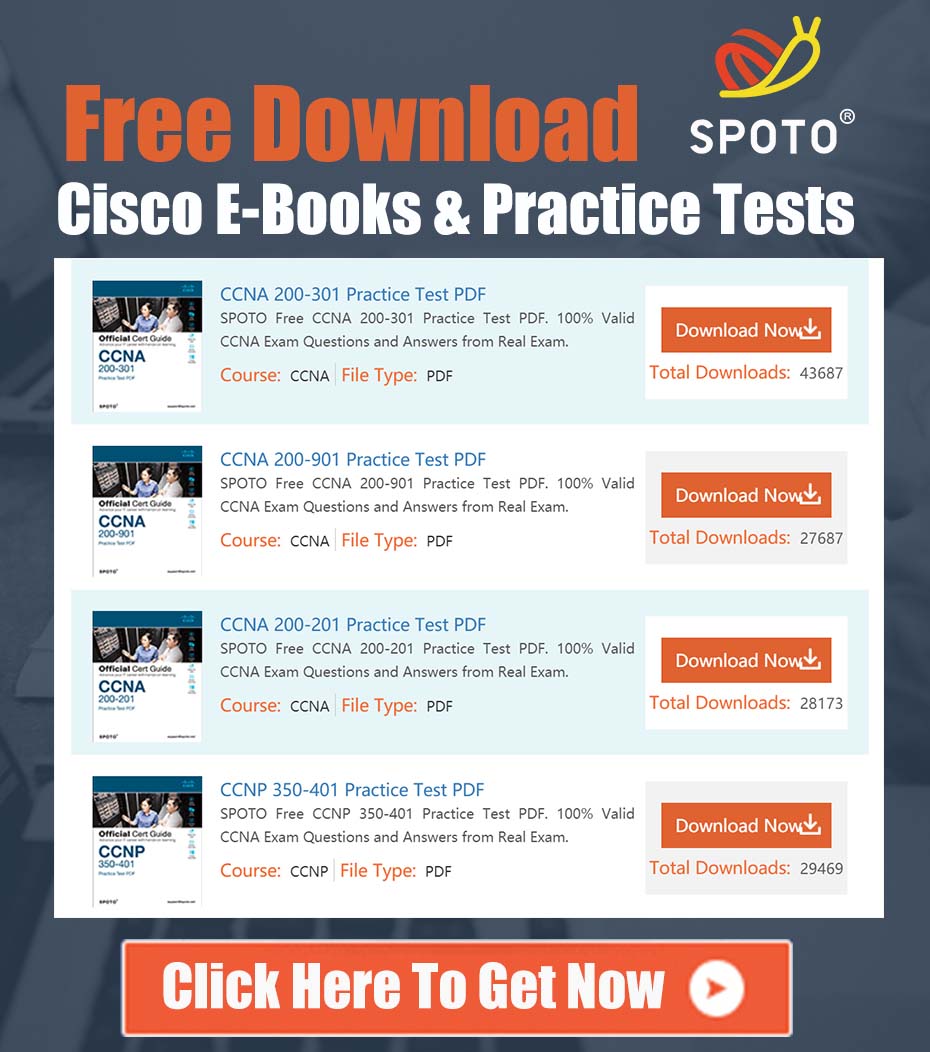
SPOTO was found in 2003 and has 16 years of IT certification training experience. They are offering 100% valid and stable IT certification exam questions and answers which would be helping the candidates to pass the IT exam in the shortest time. The following is to introduce some commands you should master when the Cisco switch works.
1. Set the hostname/systemname on the IOS-based switch:
Switch(config)# hostname hostname
Set the hostname/system name on the CLI-based switch:
Switch(enable) set system name name-string
2. Set the login password on the IOS-based switch:
Switch(config)# enable password level 1 password
Set the login password on the CLI-based switch:
Switch(enable) set password
Switch(enable) set enalbepass
3. Set up remote access on IOS-based switches:
Switch(config)# interface vlan 1
Switch(config-if)# ip address ip-address netmask
Switch(config-if)# ip default-gateway ip-address
Set up remote access on a CLI-based switch:
Switch(enable) set interface sc0 ip-address netmask broadcast-address
Switch(enable) set interface sc0 vlan
Switch(enable) set ip route default gateway
4. Enable and browse CDP information on IOS-based switches:
Switch(config-if)# cdp enable
Switch(config-if)# no cdp enable
In order to view the CDP notification information of Cisco neighboring devices:
Switch# show cdp interface [type modle/port]
Switch# show cdp neighbors [type module/port] [detail]
Enable and browse CDP information on a CLI-based switch:
Switch(enable) set cdp {enable|disable} module/port
In order to view the CDP notification information of Cisco neighboring devices:
Switch(enable) show cdp neighbors[module/port] [vlan|duplex|capabilities|detail]
5. Port description of the IOS-based switch:
Switch(config-if)# description description-string
Port description for CLI-based switches:
Switch(enable)set port name module/number description-string
6. Set the port speed on the IOS-based switch:
Switch(config-if)# speed{10|100|auto}
Set the port speed on a CLI-based switch:
Switch(enable) set port speed moudle/number {10|100|auto}
Switch(enable) set port speed moudle/number {4|16|auto}
7. Set the Ethernet link mode on the IOS-based switch:
Switch(config-if)# duplex {auto|full|half}
Set the link mode of the Ethernet on the CLI-based switch:
Switch(enable) set port duplex module/number {full|half}
8. Configure a static VLAN on an IOS-based switch:
Switch# vlan database
Switch(vlan)# vlan vlan-num name vla
Switch(vlan)# exit
Switch# configure teriminal
Switch(config)# interface interface module/number
Switch(config-if)# switchport mode access
Switch(config-if)# switchport access vlan vlan-num
Switch(config-if)# end
Configure a static VLAN on a CLI-based switch:
Switch(enable) set vlan vlan-num [name name]
Switch(enable) set vlan vlan-num mod-num/port-list
9. Configure VLAN trunks on IOS-based switches:
Switch(config)# interface interface mod/port
Switch(config-if)# switchport mode trunk
Switch(config-if)# switchport trunk encapsulation {isl|dotlq}
Switch(config-if)# switchport trunk allowed vlan remove vlan-list
Switch(config-if)# switchport trunk allowed vlan add vlan-list
Configure VLAN trunks on CLI-based switches:
Switch(enable) set trunk module/port [on|off|desirable|auto|nonegotiate]
Vlan-range [isl|dotlq|dotl0|lane|negotiate]
10. Configure the VTP management domain on the IOS-based switch:
Switch# vlan database
Switch(vlan)# vtp domain domain-name
Configure the VTP management domain on the CLI-based switch:
Switch(enable) set vtp [domain domain-name]
11. Configure the VTP mode on the IOS-based switch:
Switch# vlan database
Switch(vlan)# vtp domain domain-name
Switch(vlan)# vtp {sever|cilent|transparent}
Switch(vlan)# vtp password password
Configure VTP mode on a CLI-based switch:
Switch(enable) set vtp [domain domain-name] [mode{ sever|cilent|transparent }][password password]
12. Configure the VTP version on the IOS-based switch:
Switch# vlan database
Switch(vlan)# vtp v2-mode
Configure the VTP version on the CLI-based switch:
Switch(enable) set vtp v2 enable
13. Start VTP tailoring on IOS-based switches:
Switch# vlan database
Switch(vlan)# vtp pruning
Start VTP tailoring on a CL I-based switch:
Switch(enable) set vtp pruning enable
14. Configure the EtherChannel on the IOS-based switch:
Switch(config-if)# port group group-number [distribution {source|destination}]
Configure the EtherChannel on the CLI-based switch:
Switch(enable) set port channel moudle/port-range mode{on|off|desirable|auto}

15. Adjust root path cost on IOS-based switches:
Switch(config-if)# spanning-tree [vlan vlan-list] cost cost
Adjust the root path cost on a CLI-based switch:
Switch(enable) set spantree portcost moudle/port cost
Switch(enable) set spantree portvlancost moudle/port [cost cost][vlan-list]
16. Adjust the port ID on the IOS-based switch:
Switch(config-if)# spanning-tree[vlan vlan-list]port-priority port-priority
Adjust the port ID on the CLI-based switch:
Switch(enable) set spantree portpri {mldule/port}priority
Switch(enable) set spantree portvlanpri {module/port}priority [vlans]
17. Modify the STP clock on the IOS-based switch:
Switch(config)# spanning-tree [vlan vlan-list] hello-time seconds
Switch(config)# spanning-tree [vlan vlan-list] forward-time seconds
Switch(config)# spanning-tree [vlan vlan-list] max-age seconds
Modify the STP clock on the CLI-based switch:
Switch(enable) set spantree hello interval[vlan]
Switch(enable) set spantree fwddelay delay [vlan]
Switch(enable) set spantree maxage agingtiame[vlan]
18. Enable or disable the Port Fast feature on the IOS-based switch port:
Switch(config-if)#spanning-tree portfast
Enable or disable the Port Fast feature on a CLI-based switch port:
Switch(enable) set spantree portfast {module/port}{enable|disable}
19. Enable or disable the UplinkFast feature on the IOS-based switch port:
Switch(config)# spanning-tree uplinkfast [max-update-rate pkts-per-second]
Enable or disable the UplinkFast feature on the CLI-based switch port:
Switch(enable) set spantree uplinkfast {enable|disable}[rate update-rate] [all-protocols off|on]
20. To configure the switch as a clustered command switch, first assign an IP address to the management interface and then use the following command: switch(config)# cluster enable cluster-name
21. To remove a VLAN from a trunk link, use the following command:
Switch(enable) clear trunk module/port vlan-range
22. Use show vtp domain to display the VTP parameters of the management domain.
23. Use show vtp statistics to display the VTP parameters of the management domain.
24. The command to define TrBRF on a Catalyst switch is as follows:
Switch(enable) set vlan vlan-name [name name] type trbrf bridge bridge-num[stp {ieee|ibm}]
25. The command to define TrCRF on a Catalyst switch is as follows:
Switch (enable) set vlan vlan-num [name name] type trcrf
{ring hex-ring-num|decring decimal-ring-num} parent vlan-num
26. Once the TrBRF VLAN is created, it can be assigned a switch port. For Ethernet switching, you can use the following command to assign a port to a VLAN:
Switch(enable) set vlan vlan-num mod-num/port-num
27. The command show spantree displays the STP status of a switch port.
28. To configure the LES and BUS of an ELAN, you can use the following commands:
ATM (config)# interface atm number.subint multioint
ATM(config-subif)# lane serber-bus ethernet elan-name
29. Configure LECS:
ATM(config)# lane database database-name
ATM(lane-config-databade)# name elan1-name server-atm-address les1-nsap-address
ATM(lane-config-databade)# name elan2-name server-atm-address les2-nsap-address
ATM(lane-config-databade)# name ...
30. After creating the database, you must start the LECS. command on the main interface as follows:
ATM(config)# interface atm number
ATM(config-if)# lane config database database-name
ATM(config-if)# lane config auto-config-atm-address
31. Configure each LEC to a different ATM subinterface. The command is as follows:
ATM(config)# interface atm number.subint multipoint
ATM(config)# lane client ethernet vlan-num elan-num
32. Use show lane server to display the status of LES.
33. Use the show lane bus to display the status of the bus.
34. Use show lane database to display the contents of the LECS database.
35. Use the show lane client to display the status of the LEC.
36. Use the show module to display a list of installed modules.
37. Establish a connection to the VLAN using the physical interface:
Router# configure terminal
Router(config)# interface media module/port
Router(config-if)# description description-string
Router(config-if)# ip address ip-addr subnet-mask
Router(config-if)# no shutdown
38. Use a trunk link to establish a connection to the VLAN:
Router(config)# interface module/port.subinterface
Router(config-ig)# encapsulation[isl|dotlq] vlan-number
Router(config-if)# ip address ip-address subnet-mask
39. Use LANE to establish a connection to the VLAN:
Router(config)# interface atm module/port
Router(config-if)# no ip address
Router(config-if)# atm pvc 1 0 5 qsaal
Router(config-if)# atm pvc 2 0 16 ilni
Router(config-if)# interface atm module/port.subinterface multipoint
Router(config-if)# ip address ip-address subnet-mask
Router(config-if)# lane client ethernet elan-num
Router(config-if)# interface atm module/port.subinterface multipoint
Router(config-if)# ip address ip-address subnet-name
Router(config-if)# lane client ethernet elan-name
Router(config-if)# ...
40. In order to configure dynamic routing on the routing processor, the following IOS commands can be used:
Router(config)# ip routing
Router(config)# router ip-routing-protocol
Router(config-router)# network ip-network-number
Router(config-router)# network ip-network-number
41. Configure the default route:
Switch(enable) set ip route default gateway
42. Assign a VLANID to a route processor, using the following commands in interface mode:
Router(config)# interface interface number
Router(config-if)# mls rp vlan-id vlan-id-num
43. Enable MLSP on the route processor:
Router(config)# mls rp ip
44. In order to place an external route processor interface and switch in the same VTP domain:
Router(config)# interface interface number
Router(config-if)# mls rp vtp-domain domain-name
45. View information about the specified VTP domain:
Router# show mls rp vtp-domain vtp domain name
46. To determine the management interface on the RSM or router, enter the following commands in interface mode:
Router(config-if)#mls rp management-interface
47. To verify the configuration of the MLS-RP:
Router# show mls rp
48. Verify the MLS configuration on a specific interface:
Router# show mls rp interface interface number
49. In order to set the flow mask on the MLS-SE and do not want to set the access list on any of the route processor interfaces:
Set mls flow [destination|destination-source|full]
50. To make the MLS and input access list compatible, you can use the following commands in global mode:
Router(config)# mls rp ip input-acl
51. When a Layer 3 switch of a switch fails, the following commands can be entered in the privileged mode of the switch:
Switch(enable) set mls enable
52. To change the value of the aging time, enter the following command in privileged mode:
Switch(enable) set mls agingtime agingtime
53. Set up fast aging:
Switch(enable) set mls agingtime fast fastagingtime pkt_threshold
54. Determine which MLS-RP and MLS-SE are involved in the MLS, first display the contents of the switch reference list and then determine:
Switch(enable) show mls include
55. Display MLS cache records:
Switch(enable) show mls entry
56. Use the command show in arp to display the contents of the ARP cache area.
57. To configure a router as a member of an HSRP backup group, you can use the following command in interface configuration mode:
Router(config-if)# standby group-number ip ip-address
58. In order for a router to regain the role of the forwarding router, in interface configuration mode:
Router(config-if)# standy group-number preempt
59. The access time and hold time parameters are configurable:
Router(config-if)# standy group-number timers hellotime holdtime
60. Configure HSRP trace:
Router(config-if)# standy group-number track type-number interface-priority