


Table of Contents
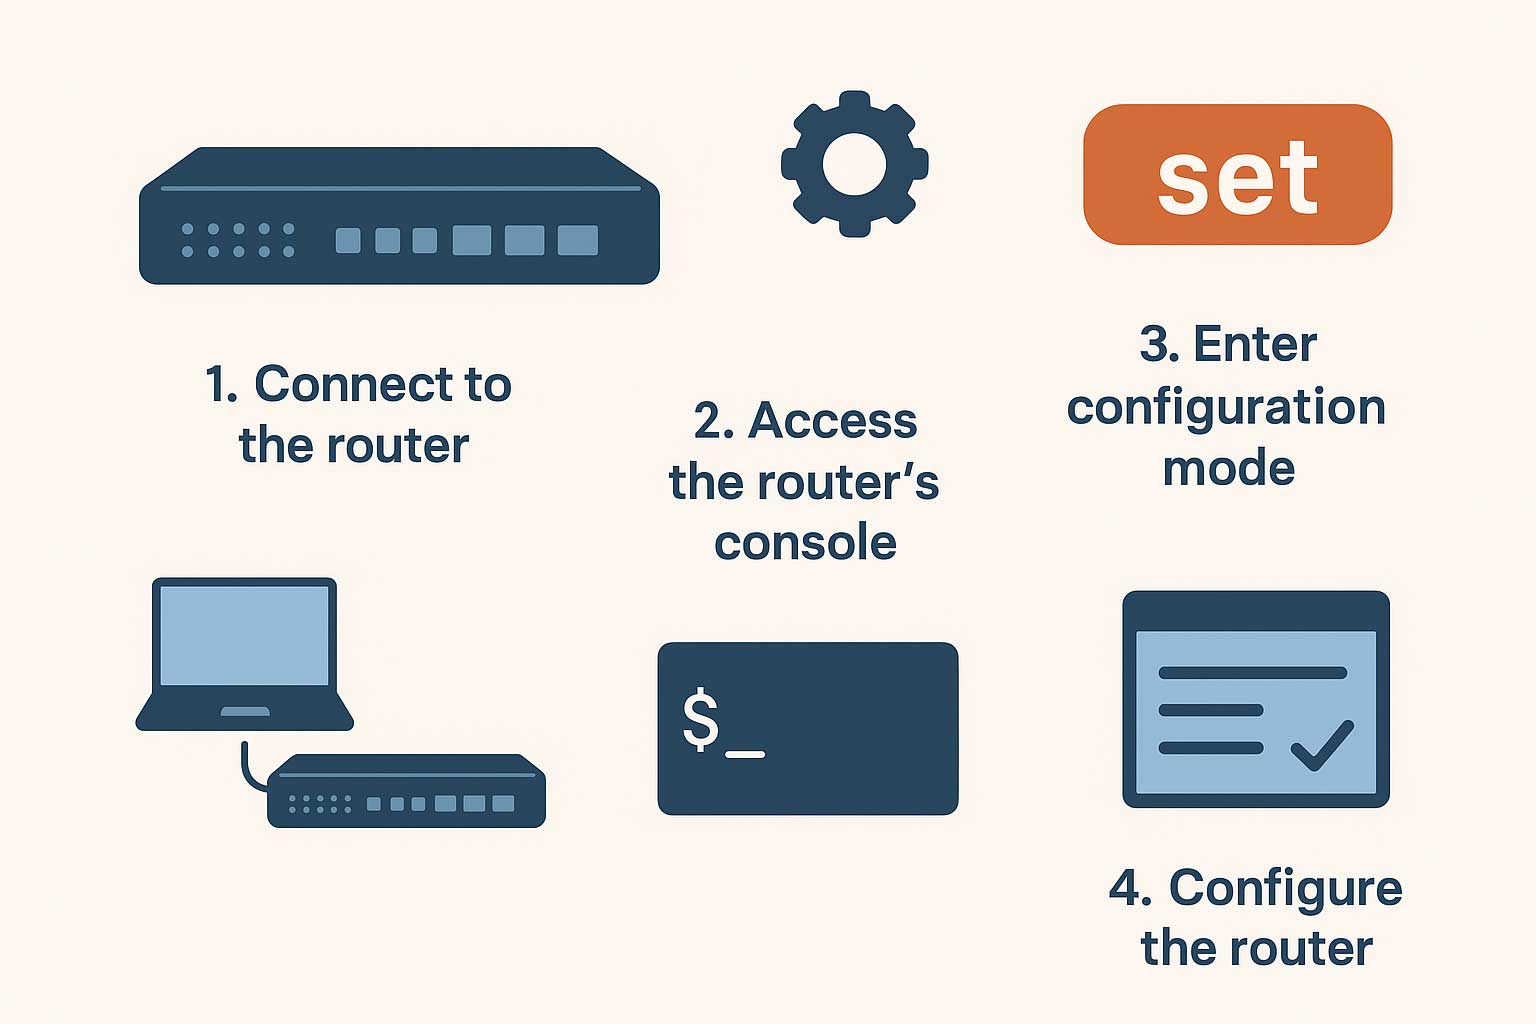
Steps to Configure a Juniper Router
- Console Access & CLI Startup
– Physically connect your PC’s serial/USB port to the router’s CONSOLE port.
– Power on the device (Junos OS boots automatically).
– Log in asroot(no password by default).
– Enter operational mode withcliand configuration mode withconfigure. - Global System Settings – Assigns the router’s identity, name resolution, and clock settings.
pgsql
set system host-name <your-hostname>
set system domain-name <your-domain>
set system name-server <DNS-IP>
set system time-zone <Zone> # e.g., Asia/Singapore- Management Interface Configuration – Brings up the out-of-band management (fxp0) port so you can reach the device over the network.
pgsql
set interfaces fxp0 unit 0 family inet address <IP>/<prefix>
set system backup-router <next-hop-IP> - User Accounts & Authentication – Creates an administrative user; secures the
rootaccount.
pgsql
set system login user <admin> class super-user authentication plain-text-password
set system root-authentication plain-text-password - Basic Routing Configuration – Defines your default route so the router can forward traffic.
vbnet
set routing-options static route 0.0.0.0/0 next-hop <ISP-gateway>- Commit & Verify – Ensures your configuration is valid, applies it, and verifies operational status.
pgsql
commit check      # Syntax/resource validation
commit            # Apply changes
show interfaces terse
show configuration
1. Pre-Configuration Planning
Before touching the CLI, gather all the information you’ll need:
- Hostname & Domain: How this router will be identified in logs and protocols
- Management IP & Prefix: For remote access to the management interface
- Default Gateway & DNS Servers: To reach and resolve external resources
- User Accounts: At least one admin user plus a secure
rootpassword - Routing Strategy: Static routes vs. dynamic protocols (OSPF, BGP, etc.)
Having this checklist ensures a smooth, single-pass configuration and minimizes downtime.
2. Establishing Console Access & Entering the CLI
All Junos-based devices ship with their CLI enabled by default on the console port. To begin:
- Connect your laptop to the router’s CONSOLE port using an RJ-45-to-DB9 rollover cable or USB console adapter.
- Launch a terminal emulator (e.g., PuTTY, Tera Term) at 9600 baud, 8N1.
- Power on the router. As it boots, you’ll see Junos messages. When prompted, log in as
root; no password is required initially. - At the
root@%prompt, type:
nginx
cli- to enter operational mode (
root@>). Then: to enter configuration mode (root@#).
nginx
configure
3. Configuring Global System Parameters
With the CLI ready, define the router’s core identity and services:
text
[edit]
root@# set system host-name Branch-R1
root@# set system domain-name example.com
root@# set system name-server 8.8.8.8
root@# set system time-zone Asia/Singapore- Host-name: Appears in prompts, SNMP, logs, and routing protocols.
- Domain-name: Appended to unqualified hostnames and used in DNS searches.
- Name-server: Ensures you can resolve Junos updates and other external names.
- Time-zone/NTP: Critical for accurate timestamping and log correlation.
4. Bringing Up the Management Interface
Most Juniper routers use the fxp0 interface for out-of-band management:
text
[edit]
root@# set interfaces fxp0 unit 0 family inet address 192.0.2.10/24
root@# set system backup-router 192.0.2.1- fxp0: Dedicated management interface isolated from data-plane traffic.
- backup-router: A static next-hop for management traffic before routing protocols converge.
Once committed, you can SSH to 192.0.2.10 and administer the router remotely.
5. Securing Access: Users & Authentication
Never run production routers with a blank root password. Create at least one super-user account and lock down root:
text
[edit]
root@# set system login user admin class super-user authentication plain-text-password
(New password prompt…)
root@# set system root-authentication plain-text-password
(New password prompt…)- admin: A named account you can track in audit logs.
- root-authentication: Sets the root password or public-key for emergencies.
6. Defining Basic Routing
If you’re starting with static routing:
text
[edit]
root@# set routing-options static route 0.0.0.0/0 next-hop 203.0.113.1- 0.0.0.0/0: The default route for all unknown destinations.
- next-hop: Your ISP or upstream router’s IP address.
For dynamic protocols (OSPF, BGP), you’d add the relevant protocols { … } hierarchy beneath [edit], but that’s outside the scope of “initial configuration.”
7. Commit, Validate & Troubleshoot
Before making anything live, always check your config:
text
[edit]
root@# commit check
# If no errors, then…
root@# commit
After commit:
show interfaces terse— confirms interface UP states and addressesshow configuration— verifies all statements are presentshow system uptime/show system users— checks device healthshow log messages— scans for boot- or commit-related errors
If you make a mistake, you can roll back:
text
rollback 1          # Back to previous config
commit             # Apply the rollback
Comments